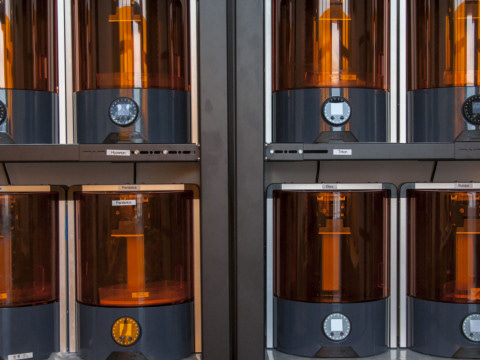
When I first arrived at Autodesk, the production of Embers had only begun a month earlier. While machines were coming off the line, there was definitely room for improvement. The first project I decided to tackle was the calibration of the UV projection system.
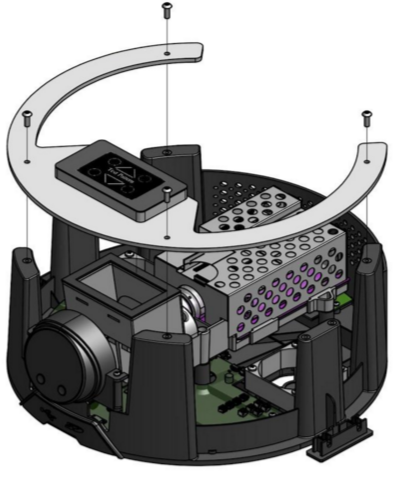
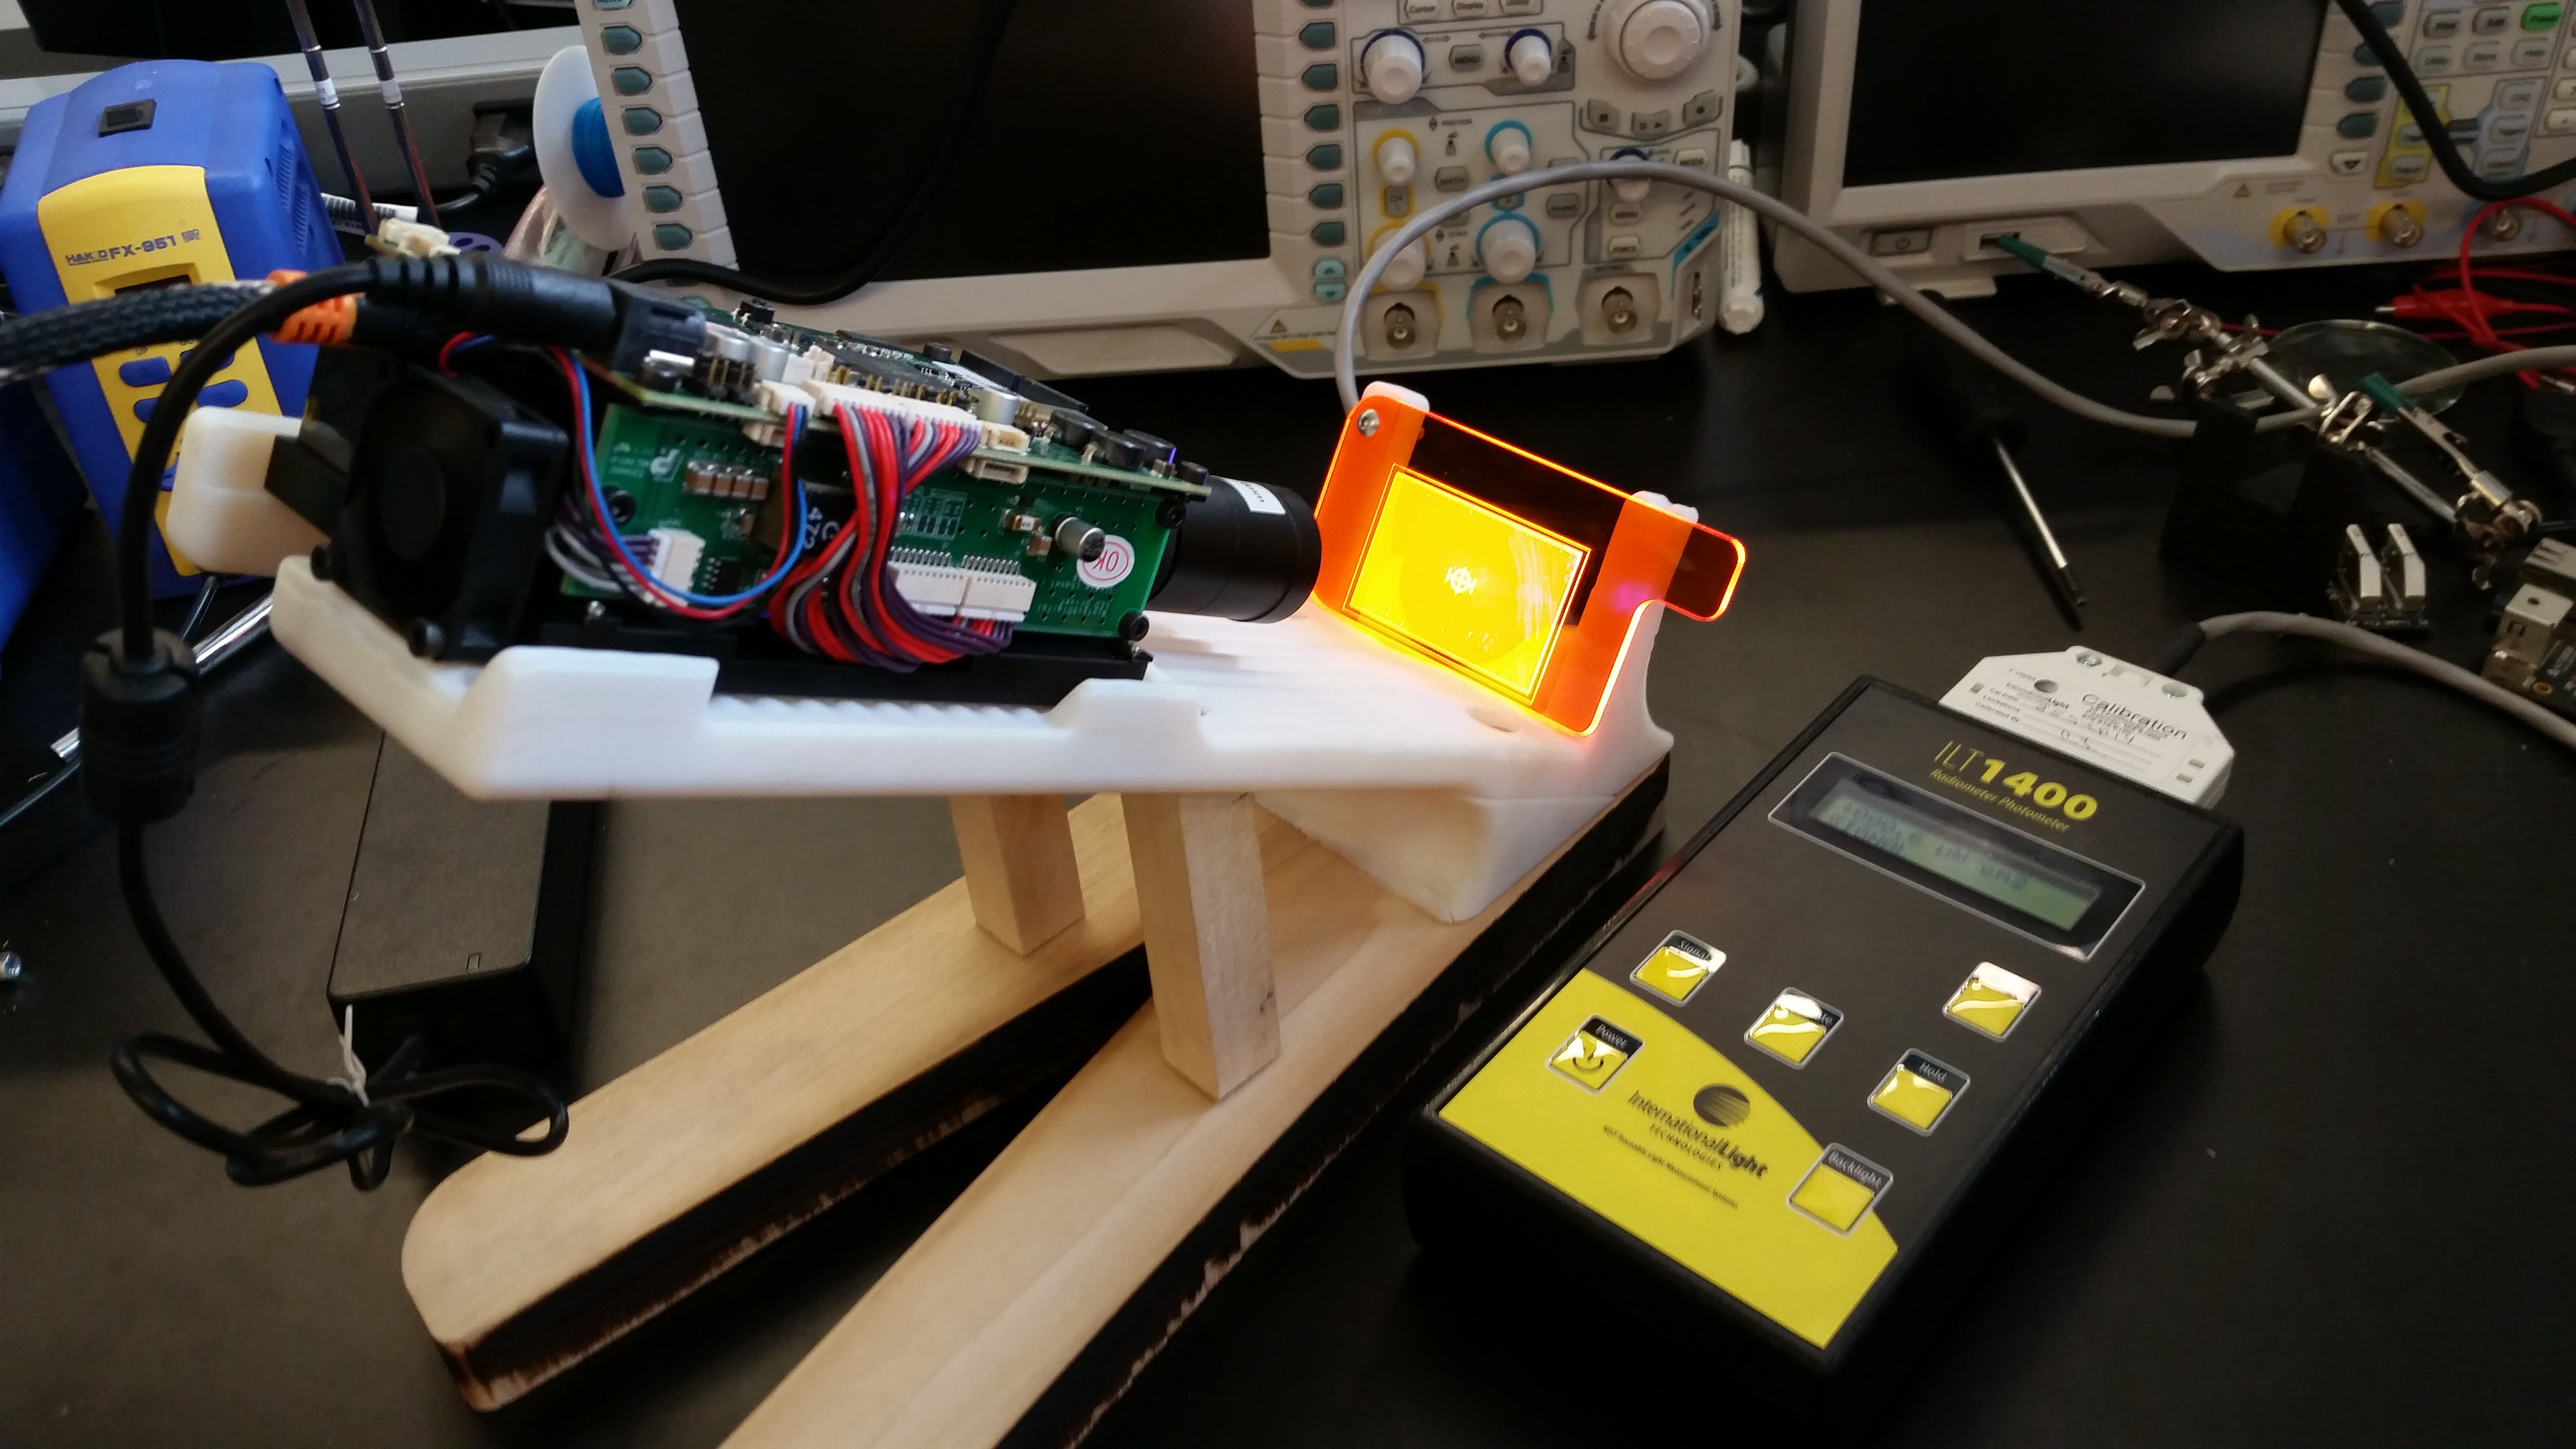
The original calibration process used etched acrylic and a visual check for alignment and focus. This worked well enough to get successful prints, but it was dependent on the opinion of the person assembling the system, and we had multiple shifts on the line.
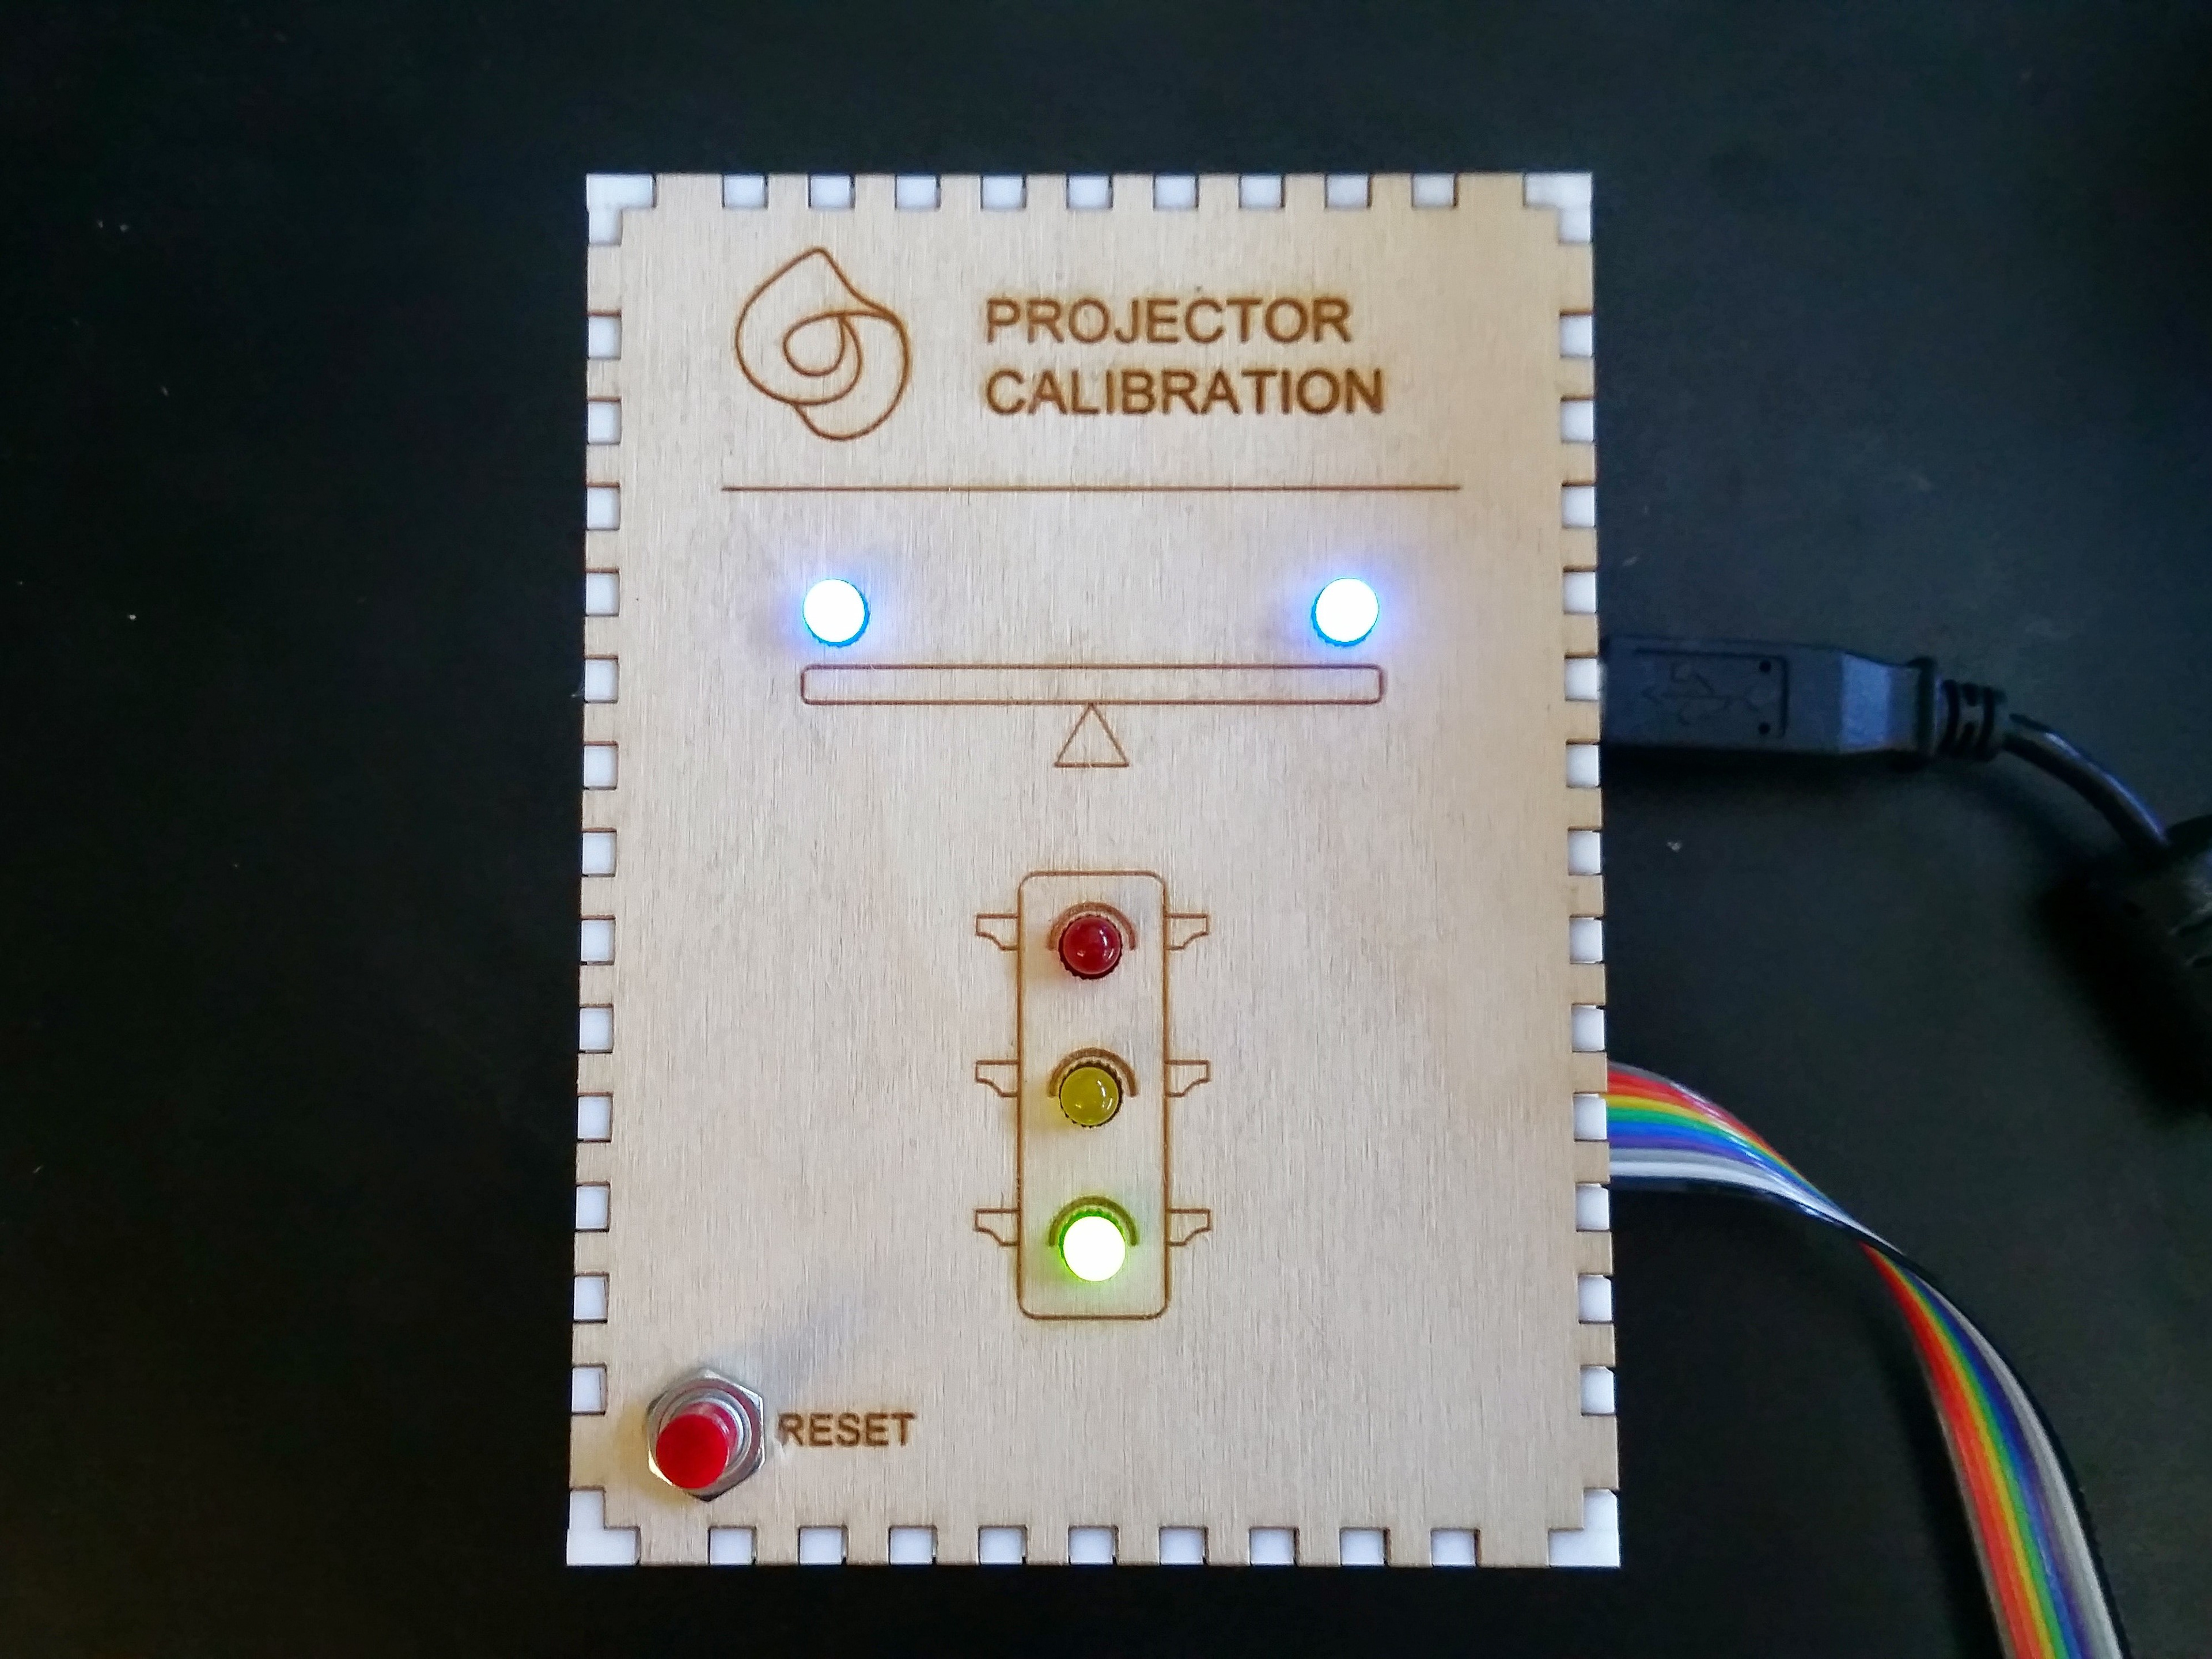
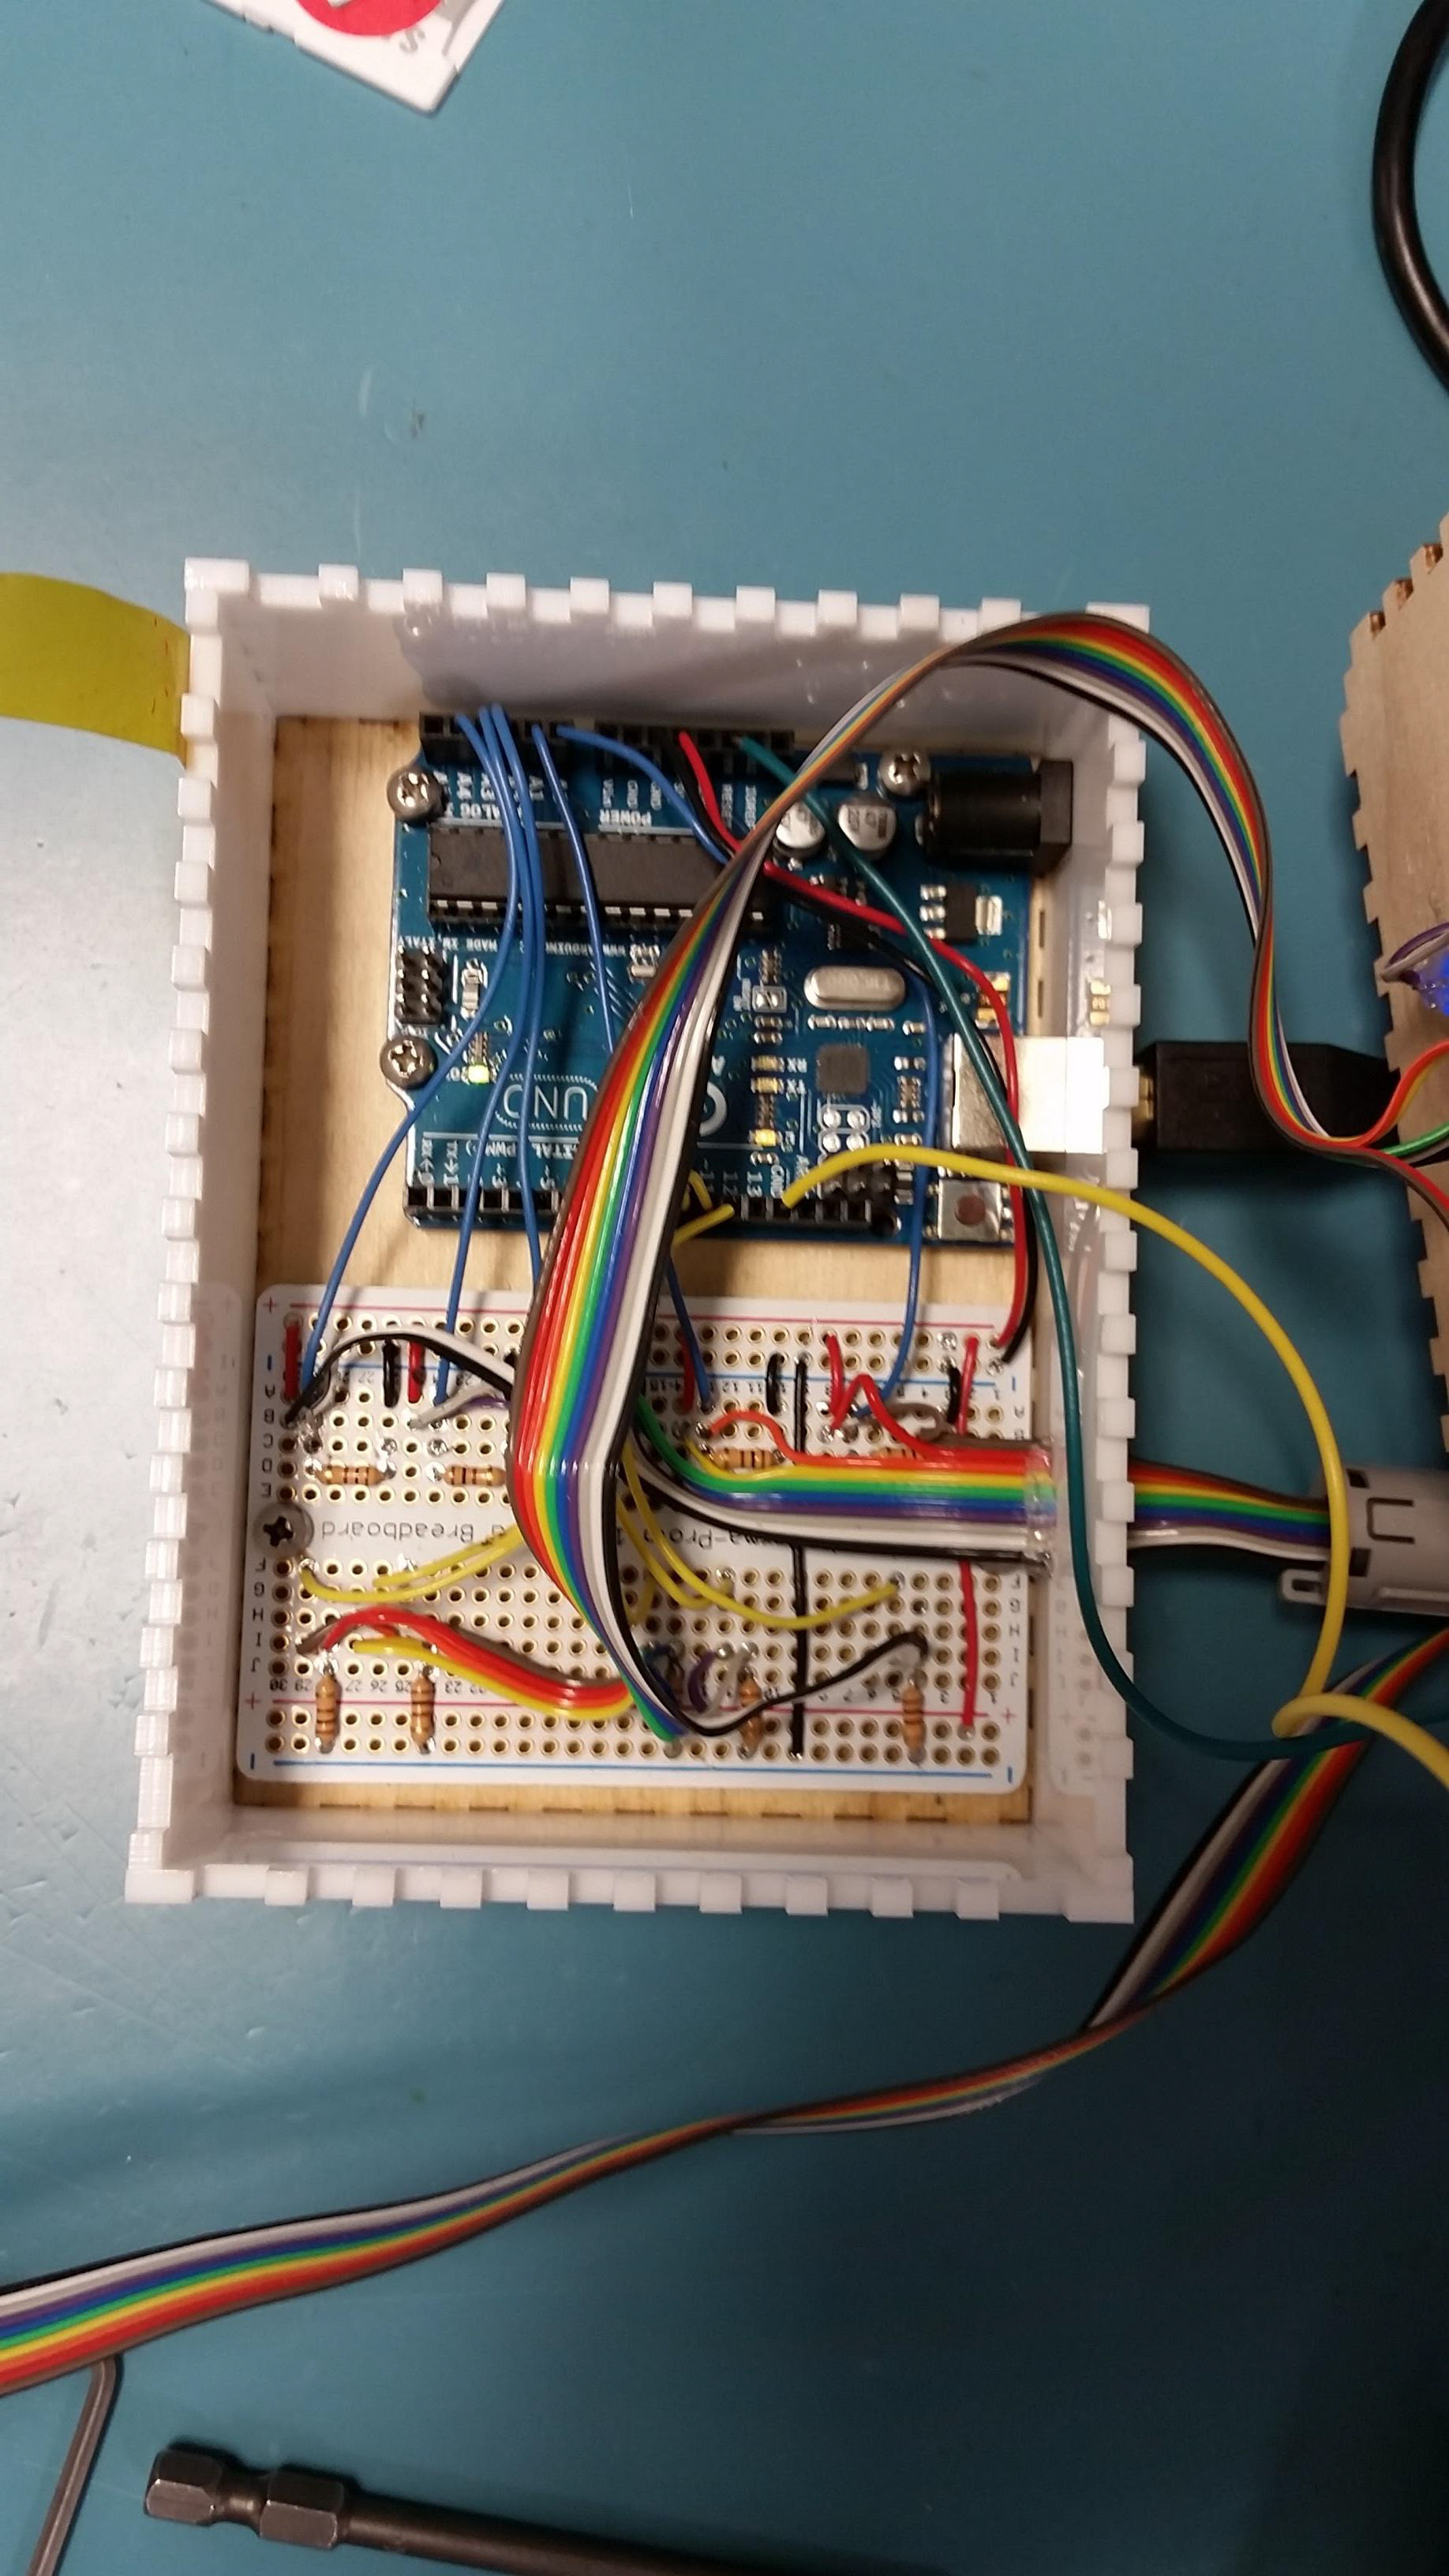
To remove the human factor, my fix was to create an Arduino powered system to verify manual alignment of the projected image and, more importantly, verify the correct focal length on the projector lens. Cutting slits into an acrylic assembly and using photo-resistors, I then used a calibration image that, when scaled, would trigger the photo resistor when it was at the correct scale, lighting a green light and letting the operators know to lock the projector assembly down in its current position.
Testing proved that this process brought all printed features within 5 microns of intended geometry. More importantly though, this ensured all physical assemblies were at the same focal length. This was great, because knowing that the machines are the same, we could use software updates to push changes in the future.